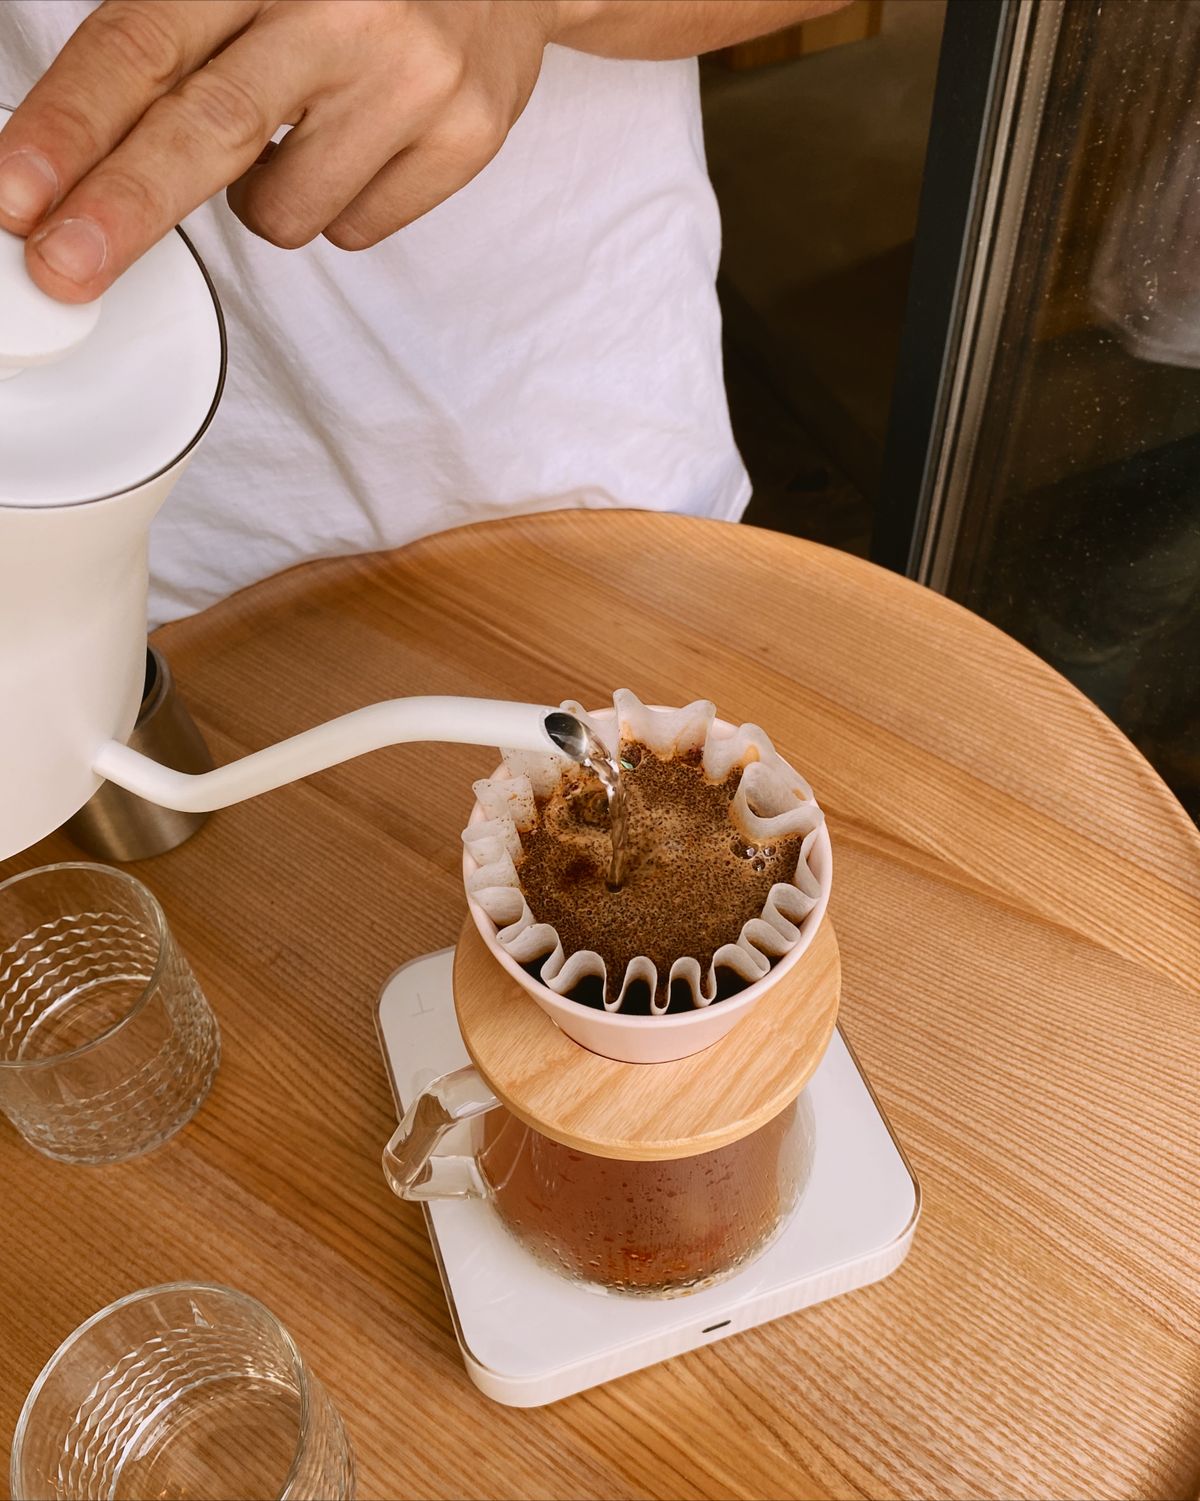
Image: Valeriya Kobzar via Pexels. For illustrative purposes only, not the exact product reviewed.
The Channeled Cup: Why Your Pour-Over Bed Looks Cratered and How to Fix It
A cratered or uneven spent bed means water found a channel. Instead of moving evenly through the coffee, it carved a path of least resistance, over-extracting one part of the bed while the rest stayed under-extracted. That is why the cup can taste sour and bitter at once. The good news: the spent bed tells you exactly what went wrong, and the fixes are almost all technique, not gear.
What channelling looks like in the spent bed
Once the brew is finished and the water has drained, look at the bed before you knock it out. A healthy bed is close to flat: a level field of wet grounds, maybe a few coarse particles dotted on the surface, edges more or less tidy. A channelled bed announces itself:
- A crater where the stream hit. A deep cone-shaped depression in the centre, or wherever you aimed the pour, means the water dug in instead of spreading out. The steeper and deeper the crater, the more aggressively the stream was cutting.
- Bald patches. Areas where the paper is nearly bare, or where grounds cling high up the walls while the bed below is thin. Water rinsed those spots clean, which means it raced through them.
- Grounds piled unevenly at the edges. A thick ring of coffee against the filter on one side and a shallow patch opposite it. The bed sloped, so water pooled on the low side and drained through it first.
- Fine silty streaks or cracks. Visible lines running down the slope of the bed, sometimes with a slick of mud. These are the surface expression of channels below.
Then check the cup against the bed. Channelling produces the most confusing taste in pour-over: sour and hollow from the under-extracted regions, bitter and drying from the over-extracted channels, with very little sweetness to bind them. Our pour-over troubleshooting guide covers that sour-bitter overlap in more detail.
One ugly bed is not proof of anything. Grind, roast, and how freshly the coffee was roasted all affect how the bed settles. But if every brew leaves a crater and the same bald patch, that is a pattern, and the pattern has a cause.
Why it happens, roughly in order of how often
Channelling is rarely one catastrophic mistake. It is usually a small mechanical problem repeated until the water gives up on doing even work and finds a highway instead. The causes below are listed roughly in the order most brewers meet them.
Pour height and flow rate
This is the big one. Pouring from high up gives the stream kinetic energy by the time it lands. It drills into the bed, displaces grounds, and throws fines sideways into the filter walls. A fast flow does the same damage from close range: more water per second than the bed can absorb evenly means the excess runs somewhere, and it will not run uniformly. A slow, low pour lets the water land as a gentle disturbance rather than a drill bit. If you fix only one thing in this post, fix this.
Hard circles versus a steady centre
Many of us learn to pour in tight spirals, chasing the edges of the bed because it looks professional. In practice, aggressive circling pushes grounds up the filter walls, digs grooves, and leaves the centre under-served. Several well-known competition routines rely instead on a slow, steady pour near the centre, letting the water spread outward through the bed by itself, and many home brewers report flatter beds with that approach. The circle itself is not the enemy; the aggressive, high, fast circle is. Whether you spiral or pour central, the goal is the same: land the water gently and let the bed stay where you put it.
Grind inconsistency
A grinder that throws a wide spread of particle sizes gives channelling a head start. Research suggests water moves fastest through gaps between coarse particles, while fines migrate downward and outward as the brew progresses, sealing parts of the filter and forcing water to find new routes. A flat burr set at the end of its life, a blade grinder, or a hand grinder grinding too fast all widen that spread. The fix is consistency at the source, and our grind size guide explains what to aim for.
Uneven bed prep
If the grounds go in as a mound, the bed starts sloped before any water arrives. Shake the brewer or tap it and the mound settles lopsided. Then the first pour deepens the slope, and every later pour inherits it. Bed prep takes two seconds and quietly removes one whole category of problems.
Filter clogging from fines
As fines wash into the paper, the drain slows. A slower drain is not automatically bad, but when clogging is uneven, parts of the filter stall while others keep flowing, and the bed starts draining from the edges inward. The symptom is familiar: the last third of the brew trickles, the bed looks scoured at the rim, and the cup is harsh. Paper rinsing before brewing helps a little by seating the filter; grinding more consistently helps a lot more.
Nothing here fixes channelling on its own, and nothing here is required. Level the bed, pour low and slow, bloom properly, and most crater problems fade. If gear is genuinely the limit, this is what we would look at:
- Level bed tools, honestly marginal. We have said before that WDT tools are espresso tools with no meaningful pour-over benefit, and we stand by that. A toothpick or the back of a spoon does the same job of breaking clumps and flattening the bed. If you still want one: the Normcore WDT Distribution Tool with Stand or the cheaper Normcore WDT Distribution Tool V2.1 (about $23.69) will do it. Both are fine tools for a job pour-over barely has.
- Flow-consistency aids, nice for some, essentials for none. Drip-assist plates break the pour into gentle droplets so the stream cannot drill the bed. Some brewers like them; they do not teach technique. The MELODRIP Pour Over Coffee Tool (about $44.00) and the CAFEMASY Drip Assist Tool for Pour Over (about $15.99) are the two you will see most.
- A kettle with a controllable pour. A gooseneck spout is the one piece of gear close to essential, because it lets you set height and flow. The Bonavita 1L Digital Variable Temperature Kettle (about $74.99) and the COSORI Electric Gooseneck Kettle (0.8L) (about $69.99) both pour slowly and predictably.
- A scale with a timer. Flow rate is grams per second, and you cannot hold something steady that you cannot see. The Greater Goods Coffee Scale with Timer (about $29.99) is the budget pick, the TIMEMORE Black Mirror Basic 2 Coffee Scale (about $55.00) the faster, sleeker one.
- A dripper you trust. The HARIO V60 Ceramic Coffee Dripper, Size 02 (about $27.08) is the reference design this whole post assumes. Ceramic holds heat well and behaves the same way brew after brew.
- Small prep comforts. A dosing tray and a spray bottle for the anti-static spritz many brewers use before grinding. The KNODOS Walnut Dosing Tray & RDT Sprayer (about $27.99) bundles both. Nice to have, nothing more.
The fixes, in the order to try them
Change one thing per brew. If you rewrite the whole technique at once and the cup improves, you will not know which change mattered.
Level the bed before the bloom
After the grounds go in, settle them. A gentle shake side to side, or a couple of light taps on the bench, flattens the mound. A quick sweep with a teaspoon or a toothpick breaks clumps and evens the surface. That is bed prep, and it is the two seconds that make every later step easier. We are deliberately recommending a spoon over a distribution tool here; the physics of flattening wet sand does not care what the tool costs.
Pour gentler, from lower down
Bring the kettle spout down until it sits maybe 5 to 10 centimetres (2 to 4 inches) above the bed, and cut the flow until the stream lands without making a hole. Slow enough that you can watch the water spread instead of punch. If you like spirals, keep them wide and lazy; if you prefer the steady centre pour, aim just off-centre and hold still. Both work when the stream is gentle. Watch the bed while you pour: if a crater is forming under the stream, raise nothing and pour faster, do the opposite.
Bloom long enough
Give the coffee 30 to 45 seconds after the first wetting, using roughly twice the water weight of the coffee dose to wet it all. Fresh coffee releases carbon dioxide during the bloom, and research suggests that gas escaping in a rush is one reason early pours disturb the bed so badly. A full bloom lets that degassing happen before the main pours, so the bed stays quieter and the water spreads more evenly. Our first pour-over guide covers bloom ratios in context.
Work on grind consistency, not just grind size
If beds keep looking ragged even with careful pouring, the grinder is the usual suspect. Size matters less than spread: a grinder producing a tight particle distribution gives water far fewer opportunities to pick favourites. You do not need a top-end flat burr, but you do need burrs that are not worn and a grind setting you can repeat. Adjust one step at a time and let the spent bed, not the clock, tell you how it is going.
Keep the filter and the brewer clean
Rinse the paper with hot water before brewing. It seats the filter against the walls, preheats the dripper, and washes out some paper taste. More importantly, keep the brewer itself clean: coffee oils go rancid and old fines collect in the ribs and the spout, where they seed clogging on every brew. Our guide to cleaning pour-over gear is the short version of that job.
How to tell the fix worked
Give it two or three brews before drawing conclusions, because one good or bad bed proves little. What you are looking for is a spent bed that ends up close to flat, with no deep cone, no bare patches, and no ring of grounds stranded at the rim. In the cup, the sour-bitter clash should soften into something more coherent, with more sweetness in the middle. Not every coffee will taste great even with a perfect bed; the point is that the bed stops lying to you about the technique.
Keep the habit of changing one variable at a time, and keep the habit of looking at the bed before you rinse it away. It is the cheapest diagnostic tool in the whole hobby, and it never runs out of batteries. When the bed is flat and the cup still disappoints, move on to the recipe itself: the dialling-in guide takes over from there. Nothing in this post has been bench-tested by us; it is desk research and widely reported brewer experience, offered as a starting point rather than a promise.